Part II: Hitchhikers Guide to the Jockey Pump
May 7, 2015The following is a list of information to gather to make the most efficient use of your time:
1. Get the pump model number and serial number. It’s on the pump, not the motor itself. This seems obvious, but 4 times out of 5 people don’t copy down the right information because they simply are looking at the wrong nameplate, especially on turbine jockey pumps.
Turbine jockey pumps look like this:
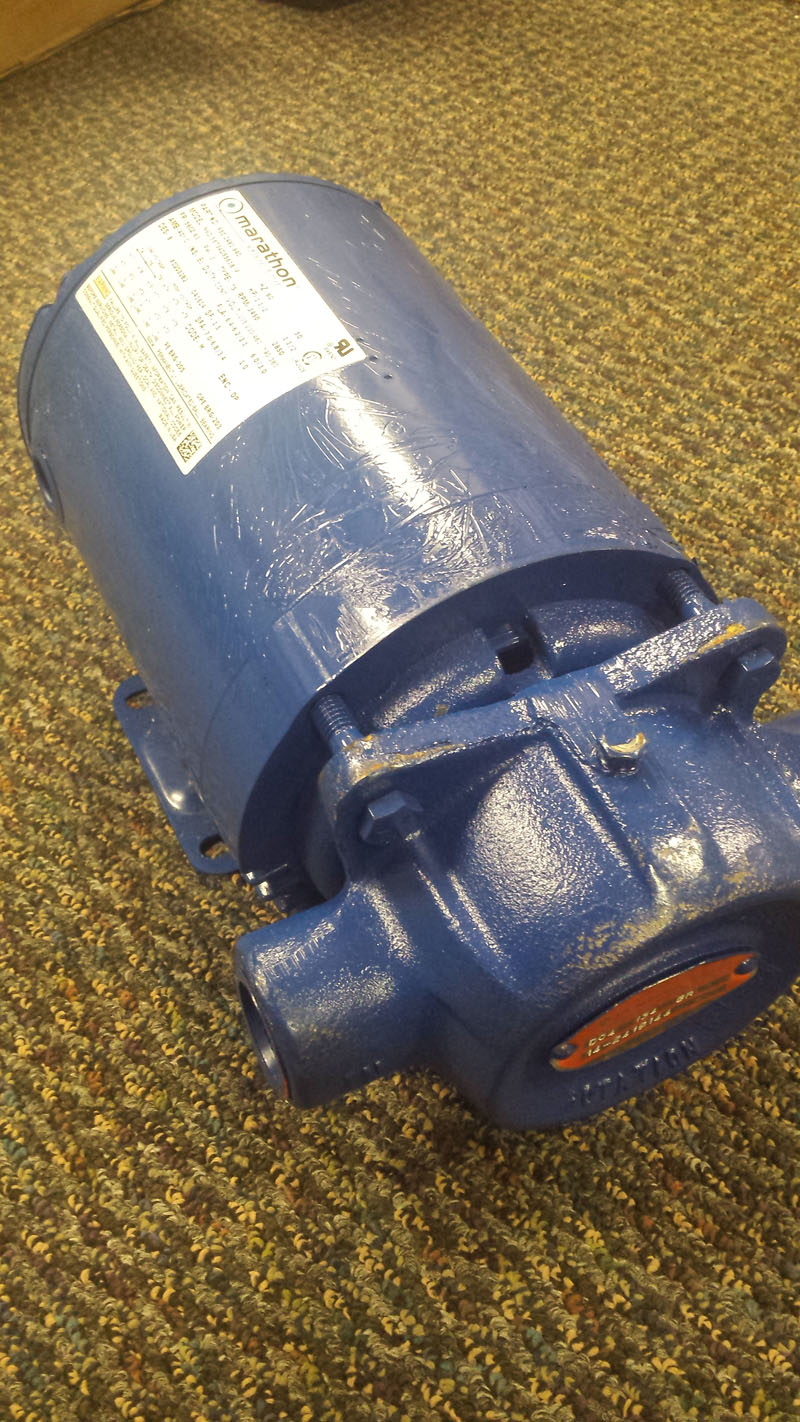
We will get into more technical detail on turbine pumps in other blogs, but suffice it to say you can always tell a turbine jockey pump from other styles because the motor is 75% to 90% of the pump unit. In fact, the motor itself is used to hold the pump together — to directly connect to the impeller and hold the casing together at the same time. Because of this, people look at the pump and motor together as a unit and call it “the pump”. For all intents and purposes, they are correct.
But right there on “the pump” (really the motor) is a big nameplate inviting you to write down the wrong information!
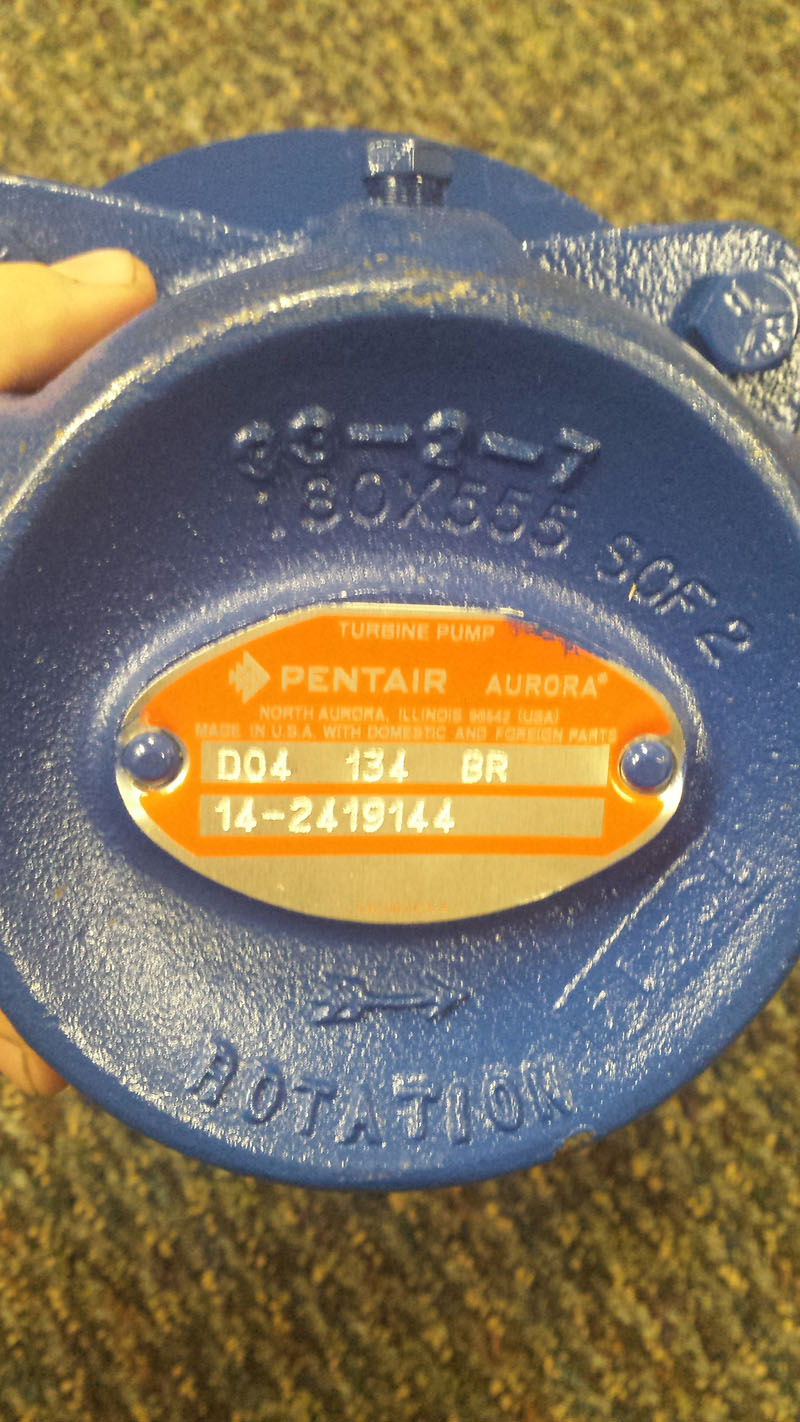
You must remember that on turbine pumps — despite their appearance as one unit — there are two nameplates: one for the pump and one for the motor. The motor nameplate, located on the side, will be the biggest and easiest to read. The pump nameplate will be on the smaller pump end, perpendicular to the motor. Unfortunately it will often be in a location that is very difficult to read.
Don’t be fooled! Get your pump model number and serial number off of the PUMP nameplate. Aurora turbine serial numbers look like this: “94-65478, ” or “03-168942. ” The model numbers are even shorter: ”D03-BR, ” “D04-BR, ” or “F05-BF. ”
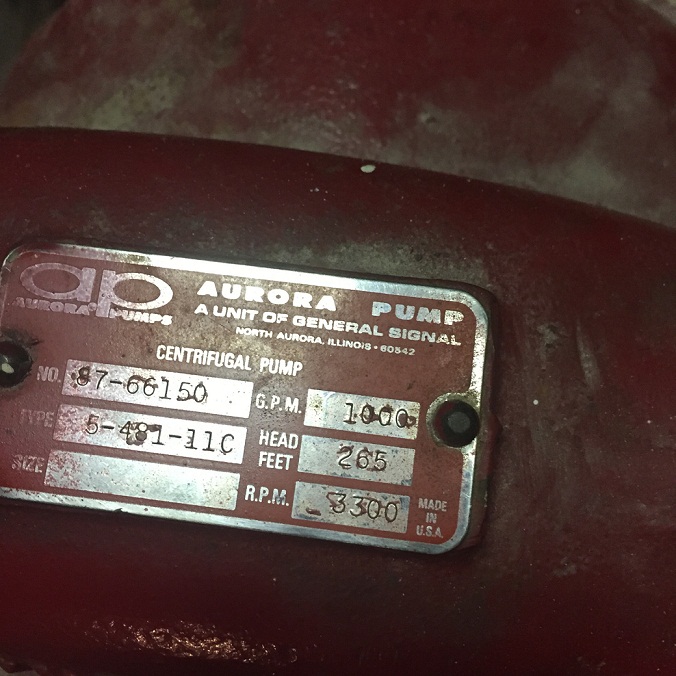
For jockey pumps that are NOT turbine style, such as vertical inline Grundfos, Aurora 390 series, or others, it is much easier for someone to find the pump nameplate and to be able to tell the pump from the motor.
A good rule of thumb is that the pump model number and serial number should be less than 8 numbers or letters. Information such as “1ZK56CW45590BTGGA” is usually a motor ID number of some sort. Use this as a warning that you are looking at the wrong nameplate.
So, what about the motor nameplate? The one that is often mistakenly believed to be the pump nameplate?
Off of the motor nameplate, we ONLY need voltage and HP. That’s it. If you want to get other information, such as RPM, frame number, ID number, etc. – that’s fine, but it’s not really needed. This brings us to our second item:
2. Get the MOTOR voltage, HP, Full Load Amps (FLA), and Service Factor (SF), which arealways found on the motor.
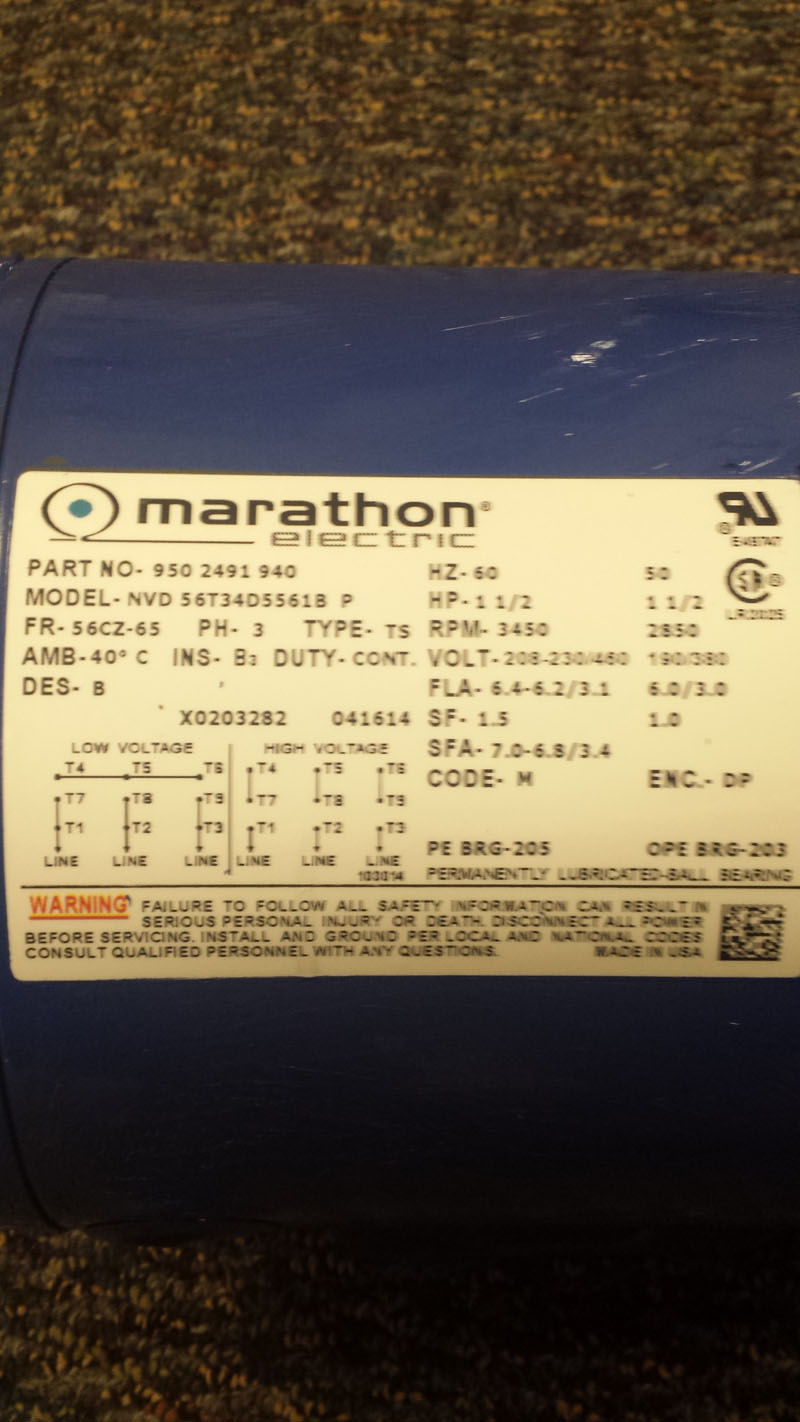
We’re really after the HP and voltage, but since you are taking information off the motor you might aswell collect the FLA and SF numbers as well. We are trying to accomplish several things here.
- We want to make sure that the new pump will operate off of the current voltage, but we will also use this information to make sure that we minimize existing jockey controller modifications, should they be necessary.
- In general, you want to match the existing HP, or you should expect to make some panel modifications.
- Don’t worry right now if you do not understand what FLA and SF mean. That is for another topic.
3. Get the rating of the fire pump.
This will allow us to evaluate to make sure that our new jockey pump — whether an exact replacement or not — will be suitable and capable to match the churn pressure of the fire pump system. It will also serve as backup information should we have to improvise down the road. Just remember that all jockey pumps, if selected properly, should be able to match the fire pump pressure boost.
4. Get the static suction pressure.
What is the fire pump suction gauge reading? Does this figure vary significantly throughout the year? If it does, by how much? What is the minimum reading? Write this down!
5. Get the jockey pump controller pressure switch information.
What is the “ON” setting? What is the “OFF” setting? If this is not readily apparent, ask the building personnel what the system pressure is that they like to maintain. Write that number down. We will use this number, along with number 4 above, to determine the amount of work in terms of pressure boost that our new pump must perform.
6. Is the system relatively small or large? Is there a lot of underground piping?
Take a look at the room. Will this new pump only be charging a relatively small section of pipe? Will it be expected to fill the system? Is the system large? Is there any underground piping? If there is a leak in the system, are the pipe and fittings easily accessible? Just note what you can.
Now we are going to stop here to make a quick point. If you make an honest attempt at numbers 1 through 6 above, then you have enough information right now to replace your jockey pump! If numbers 1 and 2 are accurate and precise, and the pump is still being manufactured, then the job is even easier. But if there are problems with these numbers, then items 3 through 6 will help fill in the void.
Please take the above information and call us for assistance. Regardless of manufacturer, we can help find it for you while helping to check for common errors.
But there still is some information that would certainly be nice to have that we will share with our blog readers today. Here are 4 BONUS items for you.
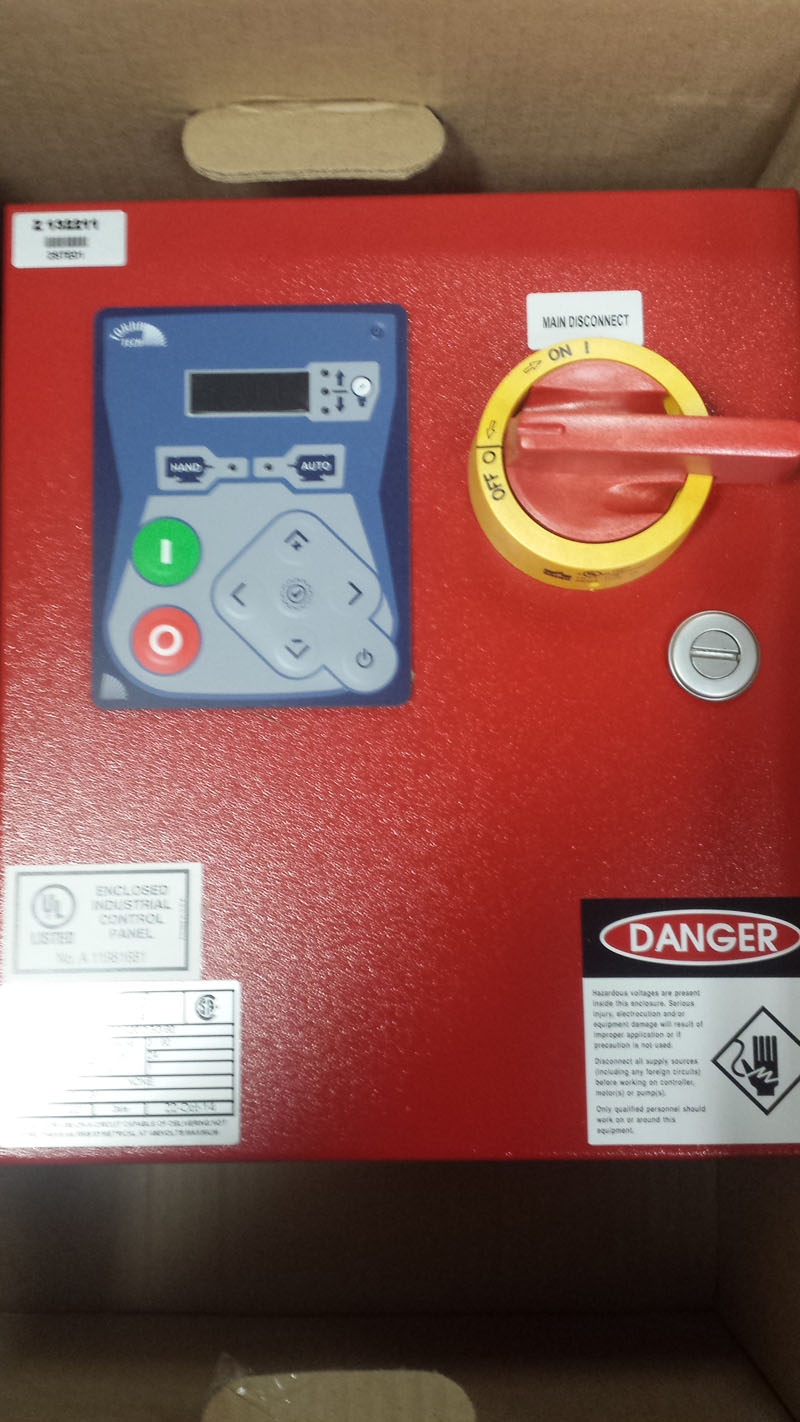
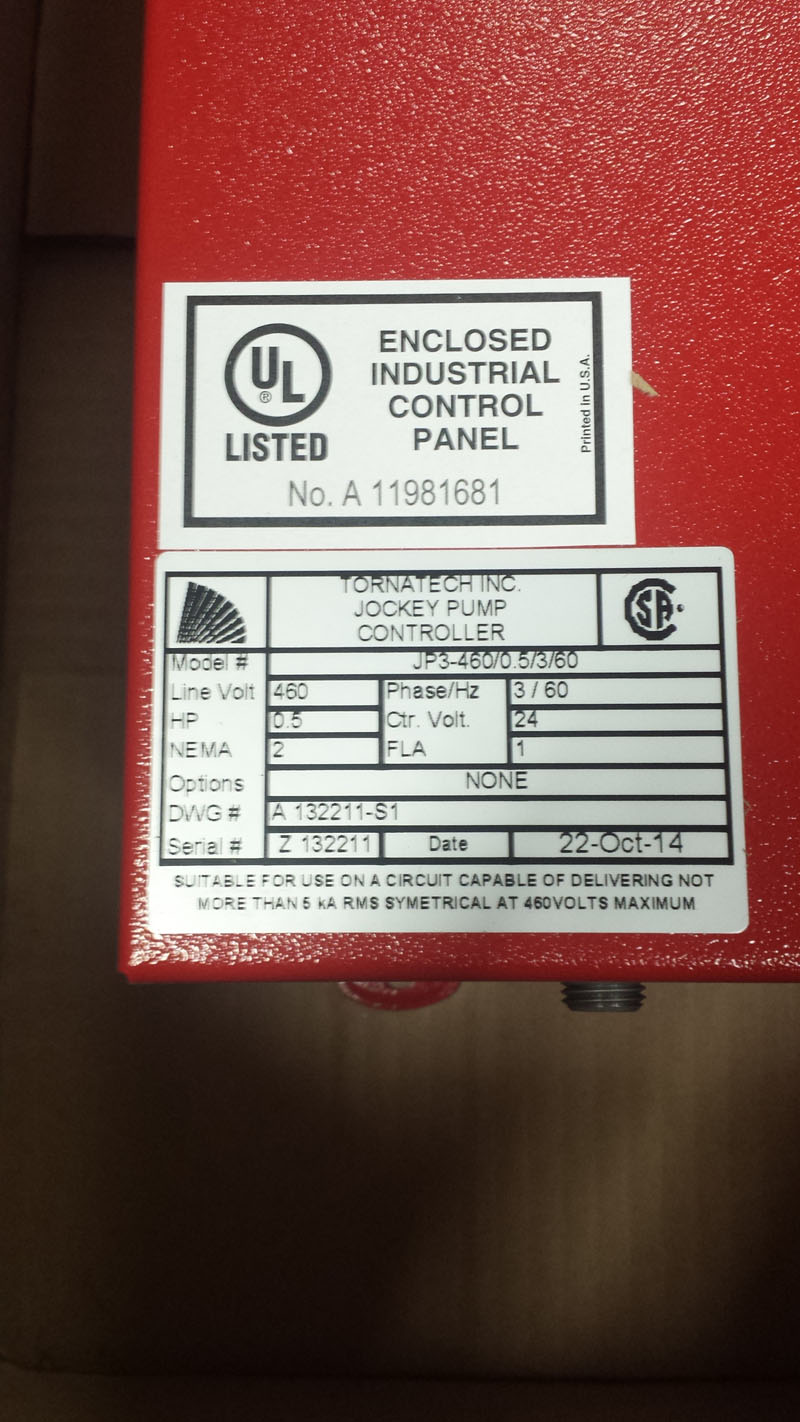
1. What is the jockey pump controller make, model number, and serial number?
With this information, we will know how easy it will be to modify the panel should it come to that. We will also learn (at least at one time) the exact voltage being run to the pump. Jockey pump motors always list several voltages, but controllers are built for only one.
2. Regardless of panel nameplates, what really is the voltage to the jockey pump controller?
If you are equipped and experienced with a volt meter, carefully measure the incoming voltage to the jockey pump controller. It is quite possible that the original jockey pump controller was ordered for the wrong voltage, but even after modification no one bothered to order a new nameplate. So now the nameplate is wrong! Making this voltage check helps everyone from looking foolish should there be a mix-up. Imagine how impressed your customer will be if you not only replaced the jockey pump promptly, but you also were able to obtain a new, and correct, panel nameplate at the same time?
3. If the pump has a relief valve, is it functional and can it be re-used?
Most of the time it is assumed that the existing relief valves can be re-used. But if a new one is needed, now is the time to indicate it. The when and why of relief valve use will be discussed in another topic.
4. What are the connection sizes on the existing jockey pump?
With this information, we can size a replacement to most closely match the suction and discharge size of your existing jockey pump. By knowing these sizes, we can also use our experience to identify the type and style pump you need.
In conclusion, we have been involved in selling and replacing jockey pumps for over fifteen years. It would be very easy to simply tell someone to write down every number they see, but this often causes more problems than it solves. By following these guidelines, you can make the best and most efficient use of your time and energy, as well as gather all the necessary information at once.